
Stem splitter
Drums, bass, vocals and everything else as separate files. Pick a stem and see how little of the full mix it is.
- Loudness
- −17.5 → −21.2 LUFS
Read the key and tempo of any track, pull out the vocal or the drums, move it into key and cut it to length, all before you open your DJ software.
Real output from these tools. Press play, then switch between before and after.
Drums, bass, vocals and everything else as separate files. Pick a stem and see how little of the full mix it is.
The song with its vocal gone, and how far down the vocal ended up.
In The Meantime · Fredy V · CC BY 3.0
The song without its guitars, for practising the part yourself.
Here, wait a minute! Damn it! · Cloudkicker · CC BY 4.0
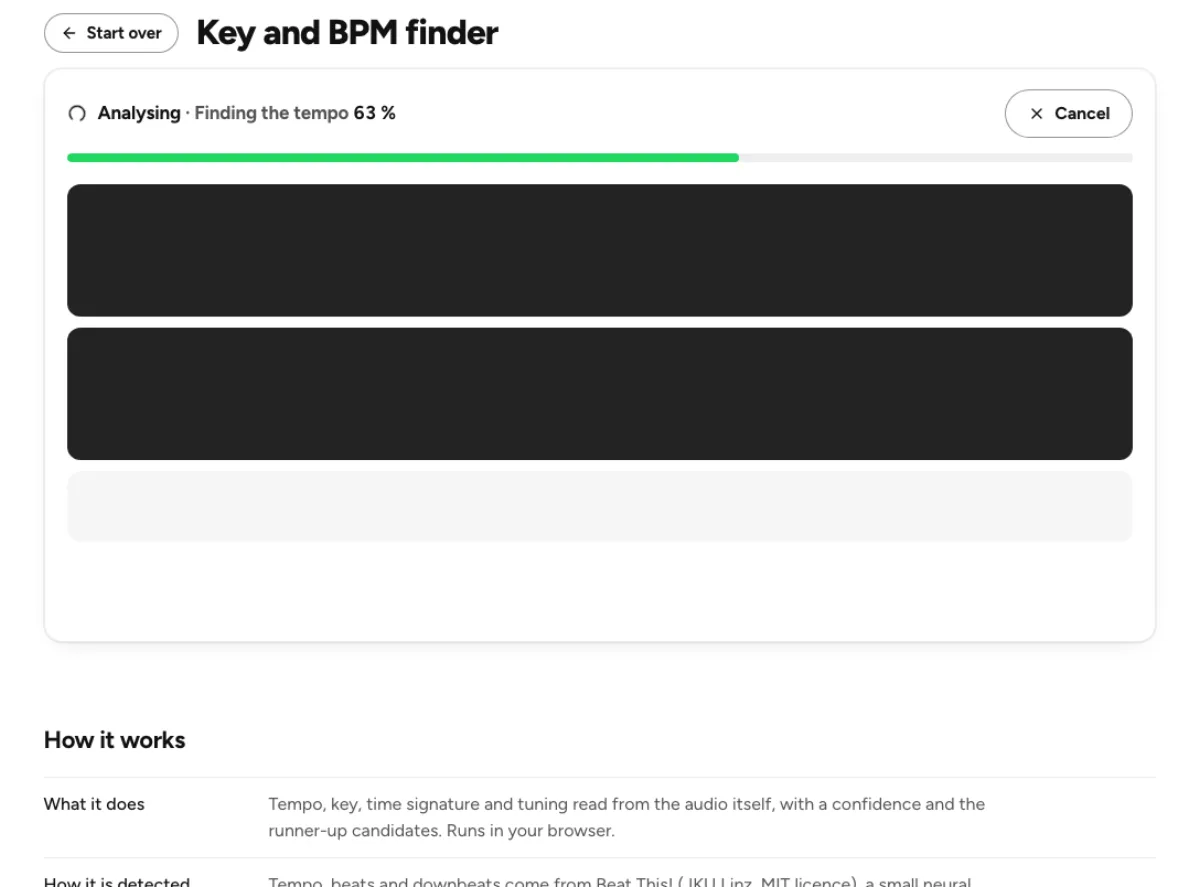
Start set preparation by measuring the musical key and tempo of the actual file you plan to play. The key and BPM finder works in your browser and shows the key name, Camelot code and alternative estimates. Use those readings to shortlist transitions, then audition the tracks together. A half-time drum pattern can produce a double-time reading, and a song can change key or speed between sections. Check the phrase you intend to mix instead of treating one number as a guarantee for the entire track. Save your original file and confirm any tempo grid in your DJ software before a performance.
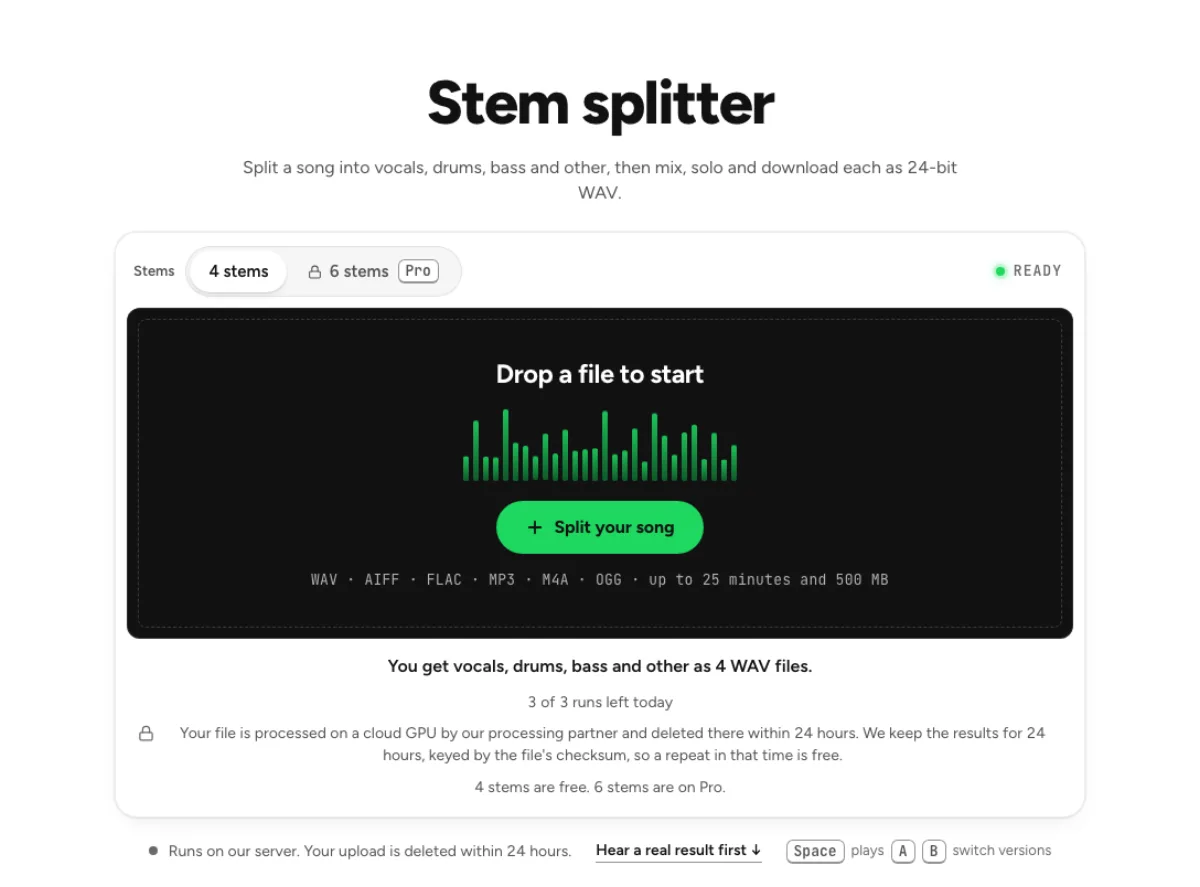
A stem split creates separate parts from a finished mix so you can rehearse combinations of vocals, drums, bass and accompaniment. Choose four stems when you need a straightforward performance preparation workflow; review the available plan before choosing additional parts. Preview every stem near the loudest chorus and around exposed entrances. A separated vocal can retain cymbal spill, and an instrumental can retain vocal reverb. Those artifacts matter more in a quiet breakdown than under a full drum loop. Export the parts you actually need and rehearse their levels with your destination track. Separation does not clear the recording for public distribution or performance.
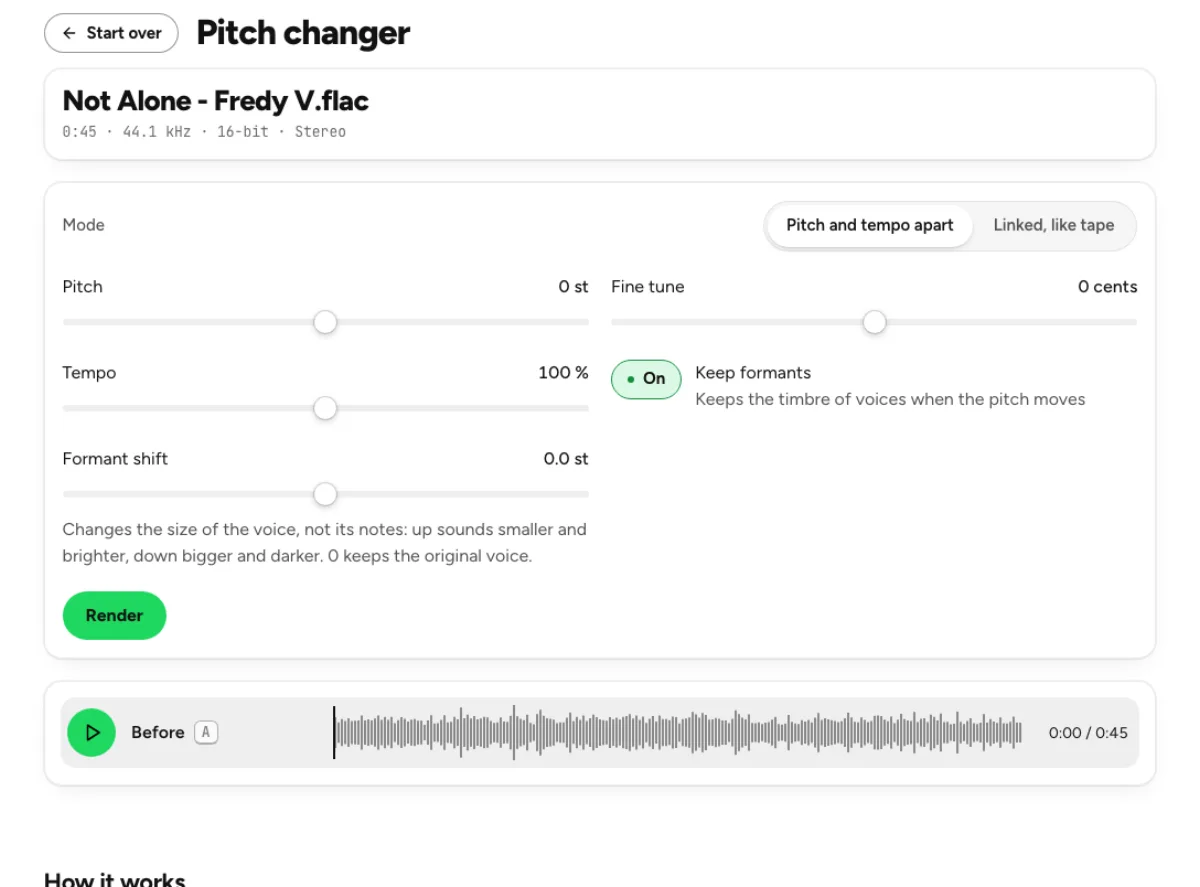
Use the pitch changer when two useful tracks need a small tonal adjustment before a transition. Listen to the voice, bass attack and percussion after changing pitch: a matching key label does not guarantee that the result still feels natural. Keep the original available for comparison and test the processed section in the context of the next song. Large shifts are an audible creative effect rather than a transparent repair. If the intended edit is a slower or faster version, check whether your chosen tool changes pitch together with speed or preserves it. Measure the exported version again when the musical key is important to the set.
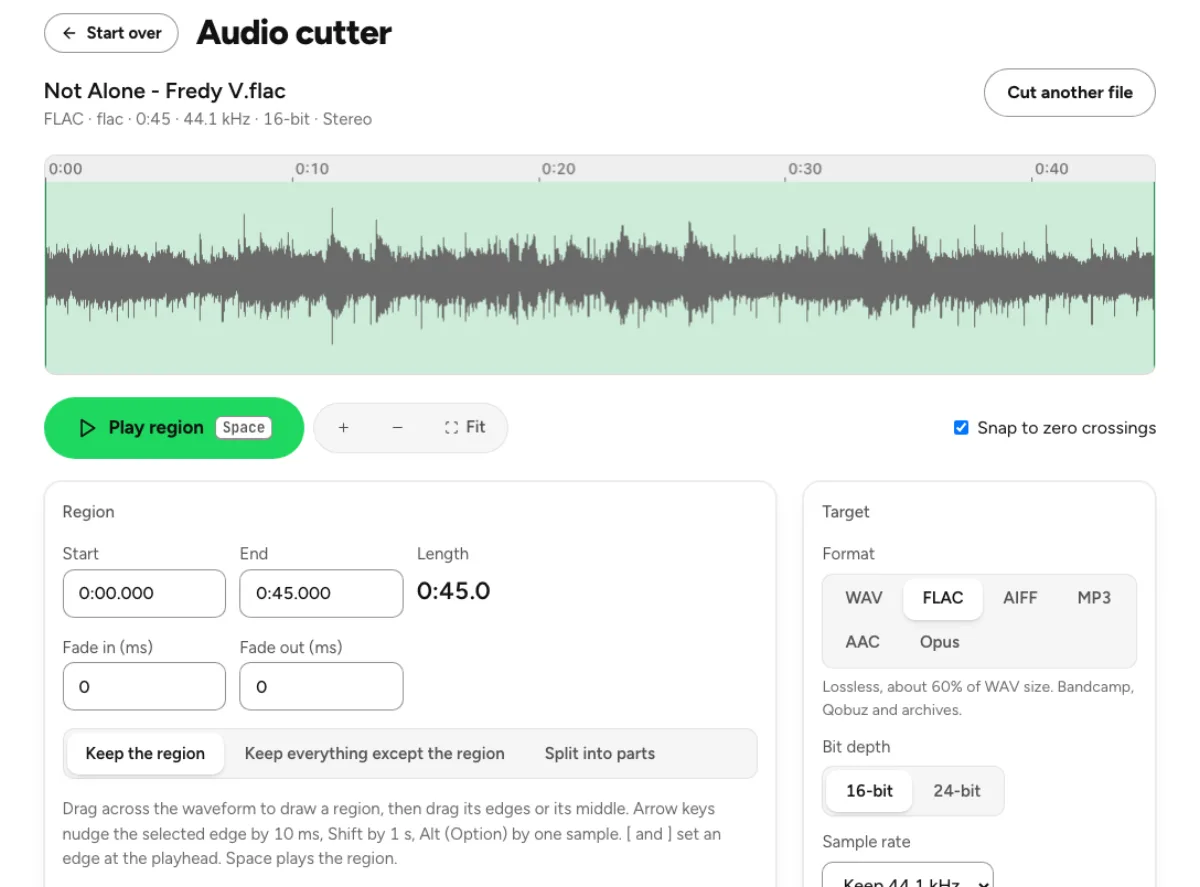
Prepare a cue, introduction or practice loop with the audio cutter after you have decided which phrase belongs in the set. Zoom into the boundary, preview the end flowing back into the beginning, and listen for an abrupt transient or a missing beat. Keep enough lead-in for your DJ software to analyze the rhythm and place its grid. Whether a cut can avoid re-encoding depends on the source format and export settings; fades and some MP3 files need a new encode. Keep a lossless preparation copy when practical and make the delivery format at the end. A clean edit should sound intentional at both boundaries, not simply fit a duration.
Collect the versions you are authorized to use, then measure key and tempo before making edits. Note whether a track has a long introduction, a changing arrangement or an unreliable beat estimate. Choose the transition phrase by listening. A key match is one way to organize candidates, but phrasing, energy and vocal overlap decide whether the transition works.
Separate only the parts the transition needs, or cut the section you want to practice. Keep the original and processed versions clearly named. Audition exposed vocals and cymbals for separation artifacts, and compare levels before judging quality. If the processing damages the hook, simplify the edit or choose another transition rather than stacking further processing on an already compromised file.
Import the exports into your performance software, verify the grid and cue points, and rehearse the transition at the intended playback level. Check the beginning and end of every file as well as the central loop. Keep a fallback version of the track so you can use the original arrangement if the prepared edit does not work in the room.
Tools that run in your browser, such as the key and BPM finder, pitch changer and audio cutter, use no cloud runs. Stem tools use one cloud run each: 3 a day without an account, 10 a month with a free one.
Yes. The key and BPM finder prints the key name with its Camelot code, plus the runner-up key and how confident it is in each.
Rifflo is for audio you have the rights to use. Whether an edit or a mashup is cleared depends on the song and where you play it, and that is yours to check.
The file goes to the cloud partner named on the page, which deletes it within 24 hours. Rifflo keeps the results so running the same file again is free.
Start with separation from the cleanest original when you need isolated parts. Changing tempo or pitch first can change transients and introduce artifacts that the separation model then has to interpret. Once you have reviewed the stems, make the creative changes and audition them in context. Keep the untouched source so you can restart without accumulating lossy processing.
Tempo estimators can select different beat subdivisions, especially in sparse introductions, halftime patterns or recordings with a live drummer. An estimate of 70 BPM and one of 140 BPM can describe the same groove at different counting levels. Listen, tap along and check the grid at several points. Use the number that supports your phrasing rather than automatically replacing a working grid.
The tools are intended for individual source files and specific preparation jobs. Process the tracks you need separately so that each result can be checked and named. Cloud separation has file, duration and usage limits shown at the tool. Long files also need more browser memory for playback and export. Splitting a set into manageable source tracks makes errors easier to identify.
Compare the tracks at matched listening level, inspect their loudness and peak readings, and rehearse the overlap. Two acceptable tracks can overload the output when their bass or vocals play together. Leave headroom, reduce overlapping low-frequency energy when appropriate, and verify the final recording. Loudness measurements help you prepare; the actual blend still needs a listening check.